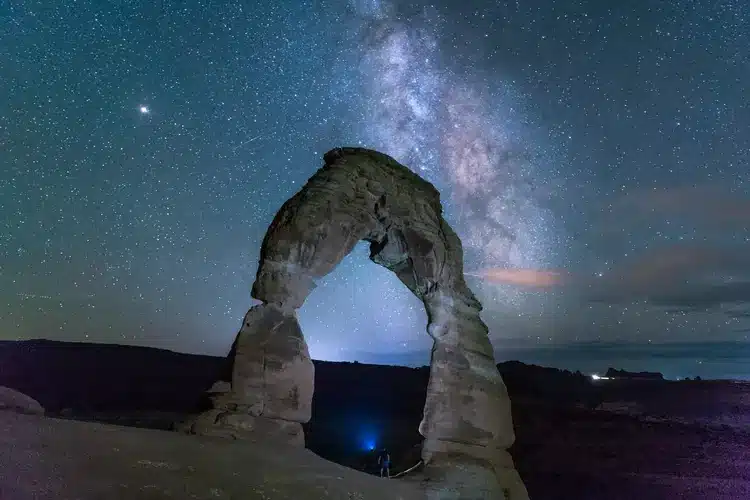
Welcome to the fascinating world of stargazing, where the universe becomes your playground.
You don’t need to be an expert or have fancy equipment to start exploring the cosmos. Stargazing is a hobby that’s accessible to everyone, and it’s incredibly rewarding. Whether you’re looking to de-stress after a long day, connect with nature, or ponder the big questions of the universe, stargazing has got you covered.
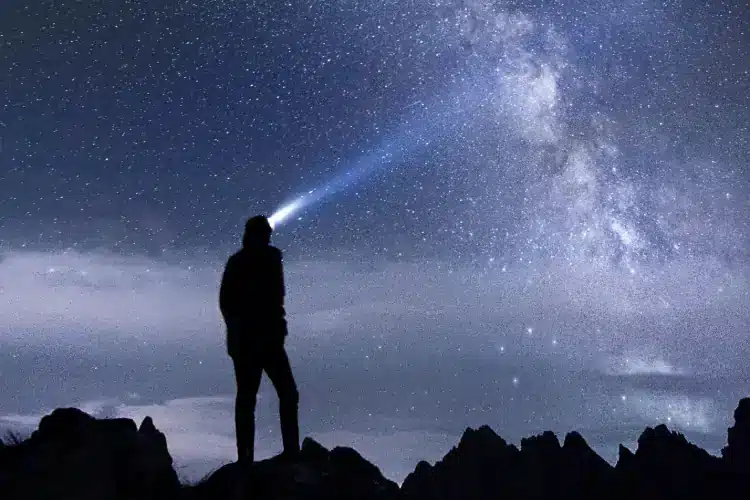
In this beginner’s stargazing guide, we’re going to cover all the bases to get you started on your astronomical journey. We’ll talk about the essential equipment (spoiler alert: your eyes are the most important tool!), how to navigate the night sky, and what celestial objects you can spot right off the bat. I’ll also share some tips and tricks to make your stargazing sessions a success.
Table of Contents
Getting Started: Essential Equipment for Beginner Stargazers
Alright, let’s talk about gear! When I first started stargazing, I thought I needed to drop a small fortune on fancy equipment. Boy, was I wrong! Let me walk you through the essentials that’ll get you started without breaking the bank.
Your eyes: the most important tool
First things first – your peepers are the MVP of stargazing. I can’t stress this enough! Human eyes are incredible instruments, capable of detecting a single photon of light. How cool is that?
Here’s a pro tip I wish I’d known earlier: give your eyes time to adjust to the darkness. It takes about 20-30 minutes for your eyes to reach peak night vision. So be patient! I used to rush out and start looking immediately, wondering why I couldn’t see much. Now I know better – I set up my gear, then just relax and let my eyes do their thing.
Choosing your first pair of binoculars
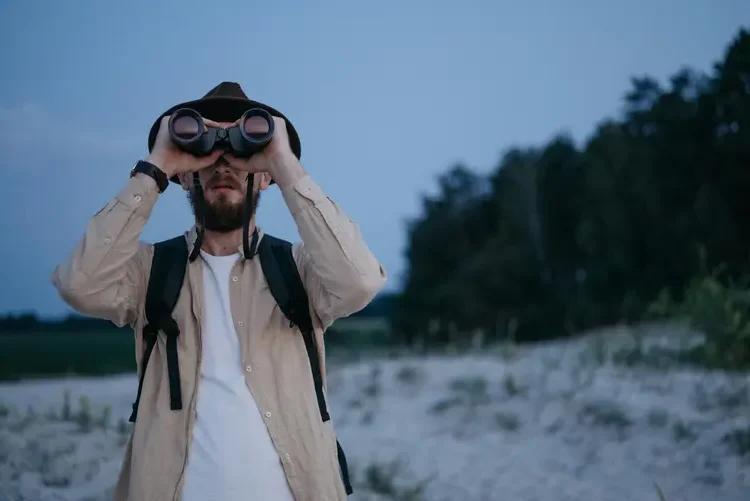
Binoculars are like the Swiss Army knife of astronomy – versatile, portable, and perfect for beginners. When I bought my first pair, I was overwhelmed by all the numbers. But here’s what you need to know: look for something in the range of 7×50 or 10×50.
The first number is the magnification, and the second is the diameter of the front lenses in millimeters. I started with a 7×50 pair and loved them. They’re light enough to hold steady and give a nice, wide field of view. Plus, they’re great for terrestrial use too – bird watching, anyone?
Starter telescopes: what to look for
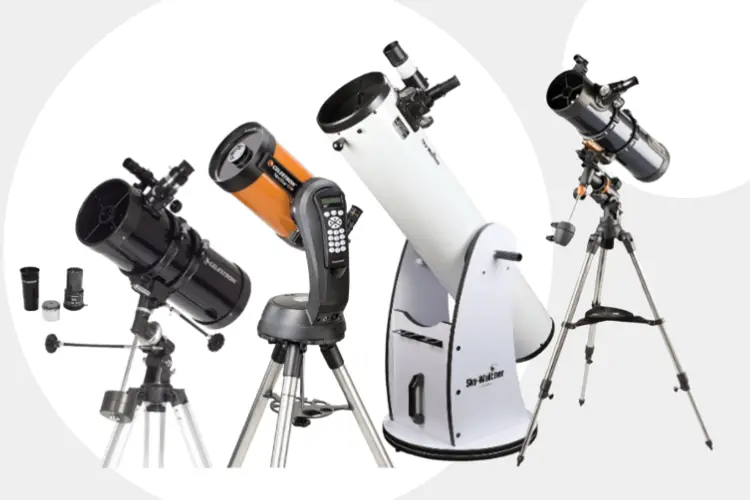
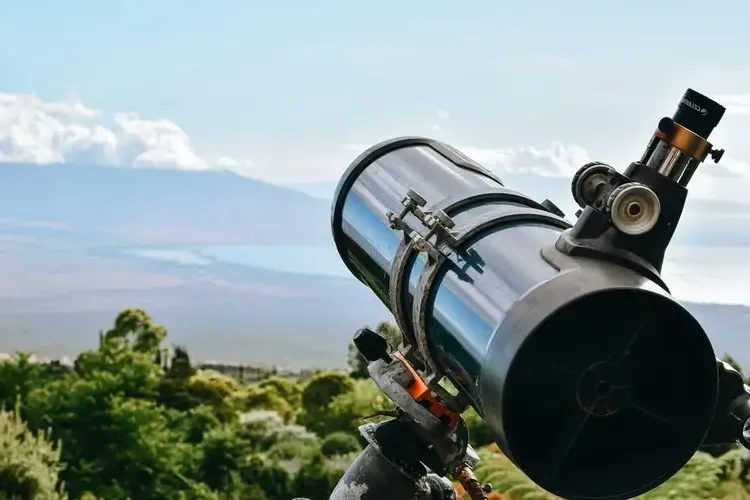
Now, telescopes. This is where a lot of beginners (including yours truly) can get tripped up. There are so many options out there! But for your first scope, keep it simple. Look for a 6-inch Dobsonian reflector or a 4-inch refractor on a sturdy mount.
I made the mistake of buying a cheap, wobbly telescope early on, and let me tell you, it was frustrating. A stable mount is crucial – you don’t want your view of Jupiter to look like it’s doing the jitterbug! Remember, a good starter scope should be easy to set up and use. You want to spend your time stargazing, not fumbling with complicated equipment.
Star charts and planispheres
Star charts are like roadmaps to the sky, and they’re essential for finding your way around.
Planispheres are nifty, too. They’re like adjustable star charts that show you what’s visible in the sky at any given time and date. Just be sure to get one that’s appropriate for your latitude.
Red flashlight for preserving night vision
Last but not least, get yourself a red flashlight. Trust me on this one – it’s a game-changer. Regular white light will ruin your night vision in seconds, but red light doesn’t affect it nearly as much.
I learned this the hard way when I kept using my phone’s flashlight to read star charts. Every time I looked back up at the sky, it was like starting over! Now, I use a red LED headlamp. It keeps my hands free and my night vision intact.
Remember, you don’t need all of this gear to get started. Your eyes and a star chart can take you pretty far. The most important equipment is your curiosity and sense of wonder. So don’t let a lack of fancy gear hold you back – the universe is waiting for you to explore it!
Understanding the Night Sky: A Crash Course in Celestial Navigation
Alright, folks, buckle up! We’re about to embark on a crash course in celestial navigation. Don’t worry, it’s not rocket science – though we are dealing with the cosmos here!
Identifying cardinal directions
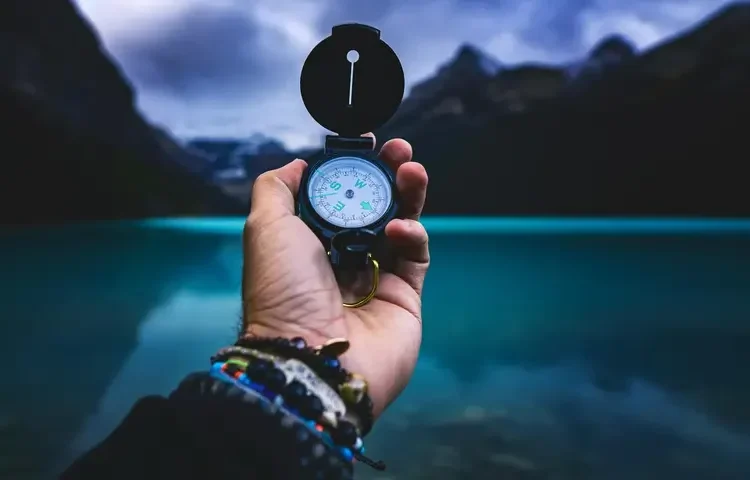
First things first: let’s get our bearings. You’d think this would be a cinch, right? Well, let me tell you about the time I got completely turned around during a camping trip. I thought I was facing north, only to realize I’d been staring south all night!
Here’s a trick I use now: find the sunset position. That’s west. Face west, and north is to your right, south to your left, and east behind you. Simple! During the day, you can use the sun’s position. Remember: it rises in the east and sets in the west. And if you’re in the northern hemisphere, the sun will be in the southern part of the sky (it’s the opposite down under!).
Finding the North Star (Polaris)
Now, let’s talk about the MVP of celestial navigation: Polaris, the North Star. This little guy is a game-changer because it always points north. Always. It’s like nature’s own GPS!
Here’s how I find it: look for the Big Dipper. It’s one of the easiest constellations to spot – looks like a big saucepan in the sky. Find the two stars at the front edge of the ‘pan’ part. Draw an imaginary line through these stars and extend it about five times the distance between them. Voila! You’ve reached Polaris.
The first time I successfully found Polaris, I felt like a proper explorer. Christopher Columbus, eat your heart out!
Recognizing major constellations
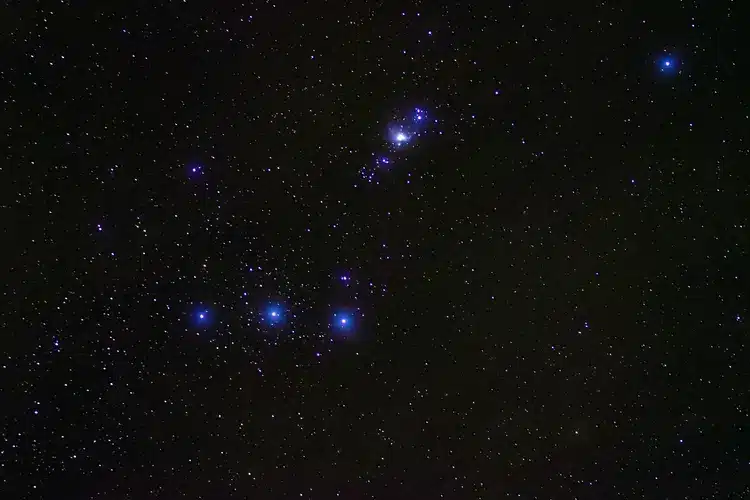
Constellations are like the celebrities of the night sky. Once you start recognizing them, you’ll feel like you’re greeting old friends every time you look up.
Start with the easy ones: the Big Dipper (part of Ursa Major), Orion (looks like a hunter with a belt), and Cassiopeia (big W or M shape). These are visible for much of the year in the northern hemisphere.
I remember learning about Orion and being so excited to spot it. But you must be careful, sometimes you might think you’re seeing Orion, but it could actually be Boötes! They’re kind of similar if you squint… a lot. So, use a star chart until you’re sure!
Understanding celestial coordinates
Now, let’s get a bit technical. Celestial coordinates are like the latitude and longitude of the sky. There are two main numbers: Right Ascension (RA) and Declination (Dec).
Think of RA as the celestial equivalent of longitude. It’s measured in hours, minutes, and seconds, going from 0 to 24 hours. Dec is like latitude, measured in degrees north or south of the celestial equator.
I’ll be honest, when I first encountered these, my brain felt like it was doing somersaults. But here’s how I think about it: imagine the Earth’s equator and lines of longitude projected onto the night sky. That’s basically what RA and Dec are!
You don’t need to memorize coordinates, but understanding the concept can help you use star charts and astronomy apps more effectively. Plus, it’s a great party trick. “Oh, that star? That’s at RA 5h 55m, Dec +7°24′.” Instant astronomy cred!
Remember, getting comfortable with celestial navigation takes time. There were nights when I felt like I was reading a map in a foreign language. But stick with it! Before you know it, you’ll be sailing through the stars like a pro.
And hey, even if you get a bit lost sometimes, that’s part of the fun. Some of my best discoveries happened when I was trying to find something else entirely. So don’t be afraid to explore – the night sky is full of wonders, just waiting for you to stumble upon them!
Top 5 Easy-to-Spot Objects for Beginners
Alright, stargazers! Let’s talk about the cosmic A-listers – the celestial objects that are ready for their close-up, even if you’re just getting started. These are the ones that made me go “Wow!” when I first spotted them, and I bet they’ll do the same for you.
The Moon and its phases
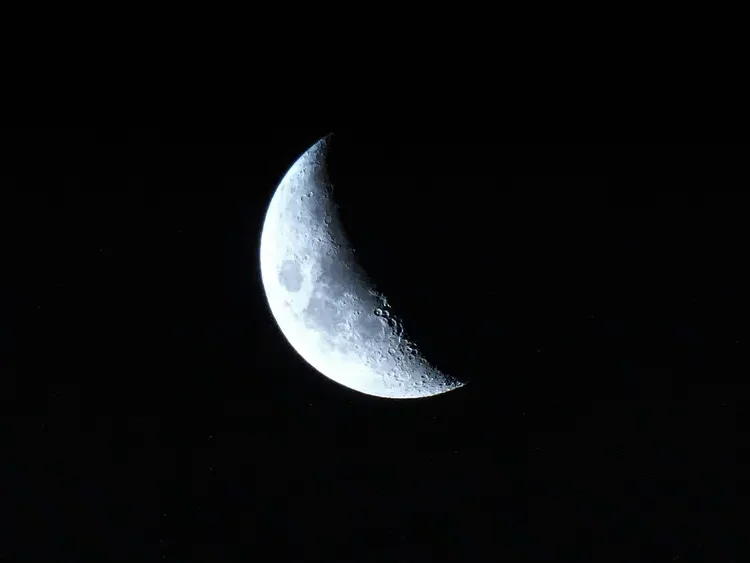
Let’s kick things off with our nearest neighbor: the Moon. Talk about a scene-stealer! The Moon was my first love in astronomy, and it never fails to impress.
Here’s a fun fact: you can see the Moon during the day! Most of the time, I actually prefer to do it then.
Watching the Moon go through its phases is like nature’s own time-lapse video. Start with the thin crescent and watch it grow night by night. When it’s full, grab your binoculars and check out those craters. They look like Swiss cheese up close!
Pro tip: The best time to observe the Moon isn’t actually when it’s full. Try looking when it’s around half-full (we call this the “first quarter” or “last quarter”). The shadows along the day/night line (called the terminator) make the surface features really pop!
Planets visible to the naked eye
Next up, we’ve got the planets. Five of them are visible to the naked eye: Mercury, Venus, Mars, Jupiter, and Saturn. These were the rock stars of my early stargazing days.
Venus is the showoff of the bunch. It’s so bright, people often mistake it for a UFO! Nope, just Venus being fabulous as usual.
Jupiter and Saturn are my personal favorites. With binoculars, you can even see Jupiter’s four largest moons! They look like tiny dots lined up next to the planet.
The Orion Nebula
Now, let’s venture into deep sky territory with the Orion Nebula. This cosmic nursery is where baby stars are born. How cool is that?
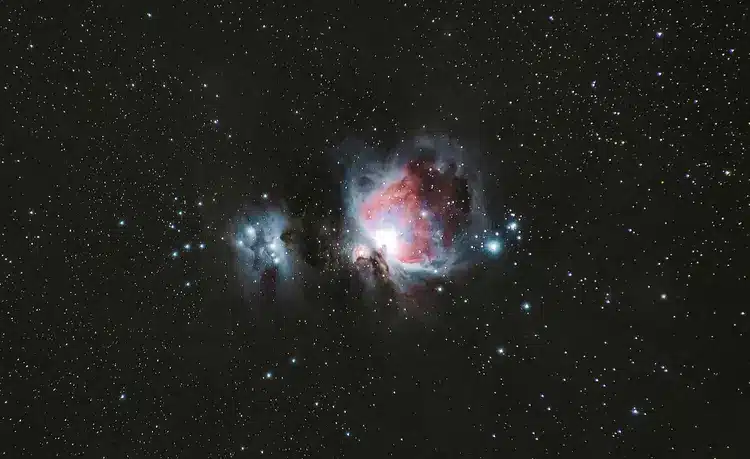
You can find it in the constellation Orion, just below the hunter’s belt. It looks like a fuzzy star to the naked eye, but pop it in some binoculars and… wow! It’s like a glowing cloud in space.
I remember the first time I saw it clearly. I was using my telescope, and suddenly this ethereal, glowing mist appeared in my eyepiece.
The Pleiades (Seven Sisters)
The Pleiades, also known as the Seven Sisters, is a beautiful star cluster that looks like a tiny dipper in the sky. It’s in the constellation Taurus, and it’s visible to the naked eye.
Here’s a challenge: how many individual stars can you count in the Pleiades? Most people can see 6 or 7, but there are actually hundreds in the cluster!
I love showing the Pleiades to people who’ve never seen them before. There’s always that moment of awe when they realize those fuzzy dots are actually a family of stars traveling through space together.
The Andromeda Galaxy
Last but definitely not least, we have the Andromeda Galaxy. This is the farthest object you can see with your naked eye – a whopping 2.5 million light-years away!
Finding Andromeda for the first time is like a rite of passage for stargazers. It’s in the constellation Andromeda (surprise, surprise) and looks like a faint, fuzzy oval.
The first time I saw it, I got chills. I was looking at an entire galaxy, with billions of stars, unimaginably far away. It really puts things in perspective, you know?
Here’s a tip: Andromeda is easier to see using averted vision. Instead of looking directly at it, try looking slightly to the side. Your peripheral vision is more sensitive to faint light.
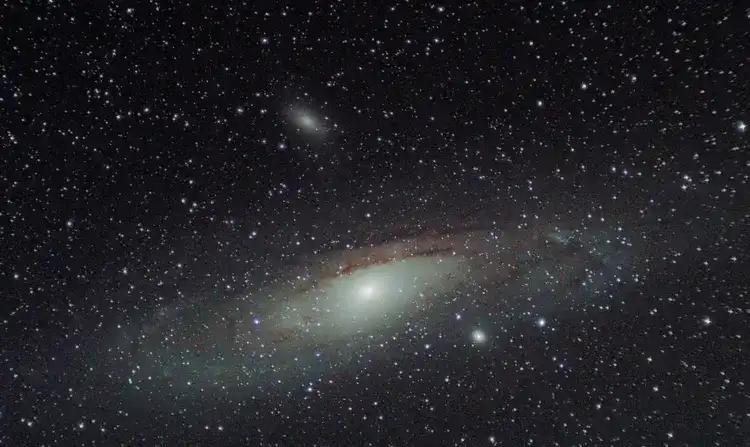
Remember, patience is key when trying to spot these objects. Some nights, the conditions just aren’t right, and that’s okay. There was this one time I spent an evening trying to show my wife the Andromeda Galaxy. No luck. But you know what? We had a blast pointing out satellites and spotting a few meteors instead.
So get out there and start exploring! These cosmic wonders have been captivating humans for millennia, and now it’s your turn to join the stargazing party. Trust me, once you’ve seen these with your own eyes, you’ll never look at the night sky the same way again!
Best Practices for a Successful Stargazing Session
Alright, space cadets, let’s talk about strategy! A successful stargazing session is all about preparation. Let’s dive into some best practices that’ll have you stargazing like a pro in no time!
Choosing the right location
Location, location, location! It’s not just for real estate – it’s crucial for stargazing too. The darker the sky, the better. I learned this the hard way when I tried stargazing from my backyard in the city. Let’s just say I saw more streetlights than stars!
Try to get away from city lights if you can. Parks, beaches, or rural areas are great options. The first time you drive out to a dark sky site it’s like someone had turned on the stars!
But hey, if you can’t get out of the city, don’t worry! You can still see plenty from urban areas. Just find the darkest spot you can, like a rooftop or an open field. Every little bit of darkness helps!
Checking weather conditions and moon phases
Nothing puts a damper on stargazing quite like clouds or a full moon. Always check the weather forecast before heading out. Clear skies are your best friend!
As for the moon, it’s a double-edged sword. While it’s beautiful to observe, a full moon can wash out fainter stars and deep-sky objects, so always check the lunar calendar.
For the best views of faint objects, plan your sessions around the new moon. But don’t discount those full moon nights entirely – they can be good for lunar observation!
Dark adaptation techniques
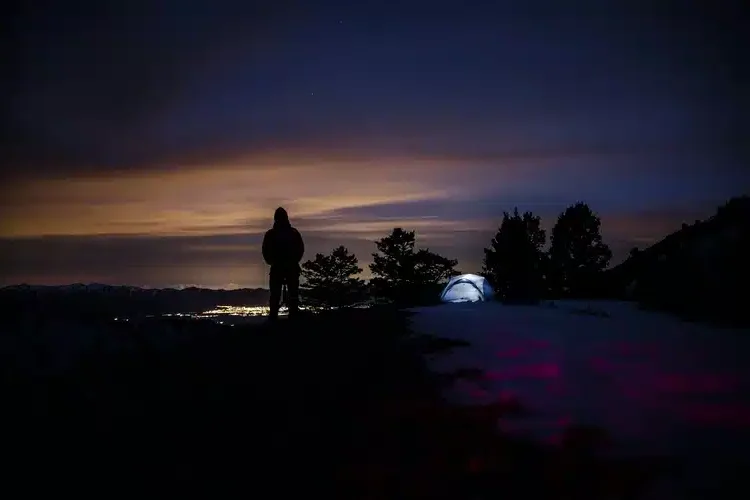
Here’s a secret: your eyes are like a fine wine – they get better with time (in the dark, that is). It takes about 20-30 minutes for your eyes to fully adapt to darkness. I know, I know, it sounds like forever when you’re eager to start, but trust me, it’s worth the wait!
While you’re waiting, avoid any white light. This includes your phone screen (Instagram can wait, I promise!). If you need light, use a red flashlight. Red light doesn’t affect your night vision as much.
I have a funny story about this. Once, I was all set up, eyes perfectly adapted, when my friend showed up late and flashed her car headlights right at me. Back to square one! Lesson learned: coordinate arrival times with your stargazing buddies.
Dressing appropriately for night observations
Space may be hot, but stargazing can get chilly! Even on warm nights, temperatures can drop significantly after sunset.
I recommend always dressing in layers. Think like an onion – lots of layers you can peel off or put on as needed. Don’t forget a hat and gloves too. And here’s a pro tip: bring a blanket or a reclining chair. Your neck will thank you after a night of looking up!
Basic star hopping techniques
Star hopping is like cosmic connect-the-dots. It’s a technique where you use bright, easy-to-find stars to navigate to fainter objects. It’s a game-changer when you’re trying to find specific celestial targets.
Start with a constellation you know, then use it as a reference to “hop” to your target. For example, to find the Andromeda Galaxy, I start with the Great Square of Pegasus, then hop to the constellation Andromeda.
Here’s a tip: practice your star hops with bright stars before trying to find faint objects. It’s like learning to walk before you run… or in this case, before you hop across the universe!
Remember, every stargazing session is an adventure. Some nights, you might not see much. Other nights, the cosmos will put on a show that’ll take your breath away. I’ve had sessions where I’ve seen nothing but clouds, and others where I’ve spotted 4 planets in one night!
The key is to keep at it, learn from each experience, and most importantly, enjoy the journey. After all, you’re exploring the universe – how cool is that? So grab your gear, find a dark spot, and let the cosmic show begin. The stars are waiting for you!
Leveraging Technology: Must-Have Apps for Modern Stargazers

Boy, oh boy, do I wish I had these apps when I first started stargazing! Back in my day (listen to me, sounding like a space grandpa). The universe is literally at your fingertips. Let’s dive into some tech that’ll supercharge your stargazing!
Planetarium apps for sky mapping
First up, planetarium apps. These babies are like having a personal astronomer in your pocket. Point your phone at the sky, and voila! It tells you what you’re looking at. Magic? Nope, just really cool tech.
My favorites are Stellarium, Star Walk 2 and Sky Map. They’re user-friendly and packed with info. Plus, they work offline, which is great for those remote stargazing spots where cell service is as rare as a solar eclipse.
Pro tip: Use the night mode on these apps to preserve your dark adaptation. Your eyes (and fellow stargazers) will thank you!
Satellite tracking applications
Next up, satellite trackers. These apps tell you when and where to spot satellites zooming overhead. It’s like train-spotting, but way cooler.
I love using these to impress my non-astronomy friends. “Watch that bright dot right… there!” I’ll say, pointing at a seemingly empty patch of sky. A few seconds later, right on cue, a satellite appears. Cue gasps of amazement (and me trying not to look too smug).
Apps like Heavens-Above and ISS Detector are great for this. The International Space Station is especially fun to track – it’s so bright, it’s hard to miss once you know where to look. I suggest you to check our ISS spotting guide.
Astronomy weather forecasts
Weather apps are a stargazer’s best friend. But not just any weather app – you need one that speaks astronomer.
Apps like Clear Outside and Scope Nights give you astronomy-specific forecasts. They tell you about cloud cover, seeing conditions (how steady the air is), and even the darkness of the sky.
Virtual reality stargazing experiences
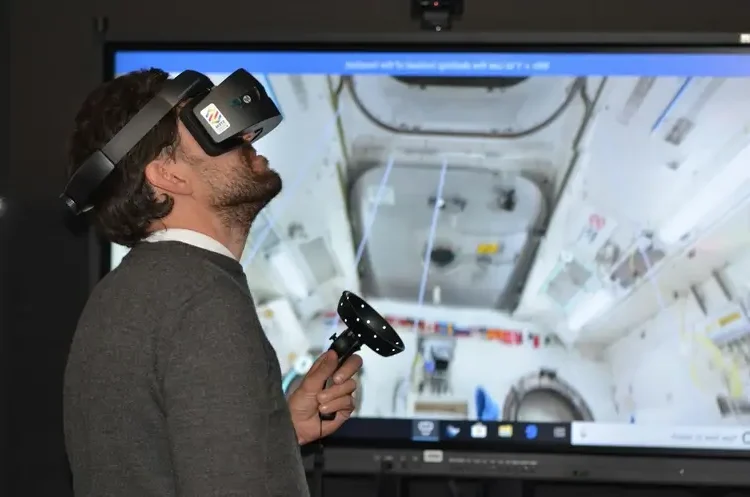
Now, this is where things get really sci-fi cool. Virtual reality stargazing apps let you explore the cosmos from your living room. Perfect for those cloudy nights or when you just can’t get outside.
Apps like Star Chart VR and Solar System Scope VR let you fly through space, visit planets, and explore constellations in 3D. It’s like having your own personal spaceship!
While VR can’t replace the real thing, it’s an awesome way to learn and explore on those nights when the weather just won’t cooperate.
Here’s the thing about all these apps – they’re tools, not substitutes for the real experience. Use them to enhance your stargazing, not replace it. There’s still something magical about stepping outside, looking up, and connecting with the universe with your own eyes.
I’ve had nights where I’ve used every app in my arsenal, and nights where I’ve just laid back and watched the stars without any tech at all. Both can be equally amazing.
Remember, the goal is to explore and enjoy the night sky. If these apps help you do that, fantastic! If you prefer the old-school method of star charts and your own two eyes, that’s great too. The important thing is that you’re out there, looking up, and marveling at the cosmos.
So, whether you’re a tech wizard or a traditionalist, grab your gear (digital or otherwise), head outside, and get stargazing. The universe is waiting, and now you’ve got some high-tech tools to help you explore it.
Common Challenges and How to Overcome Them
Alright, fellow stargazers, let’s get real for a moment. Astronomy isn’t always smooth sailing (or should I say, smooth orbiting?). There are challenges that can make you want to throw your telescope into a black hole. Let’s dive into some common challenges and how to tackle them head-on.
Dealing with light pollution
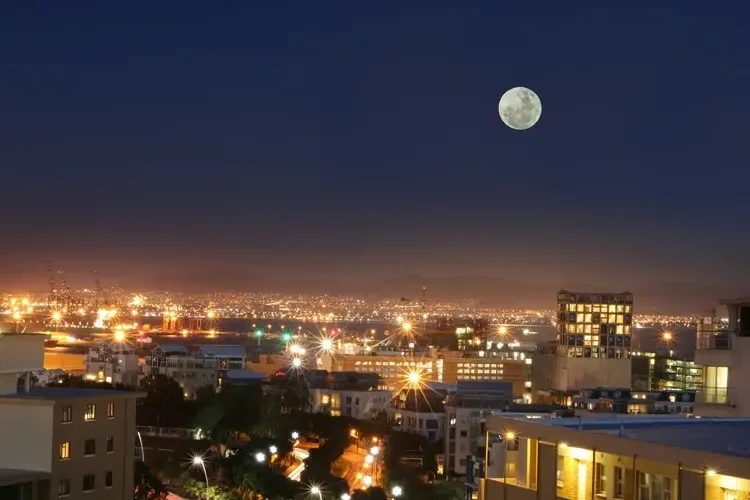
Ah, light pollution – the bane of every urban astronomer‘s existence. But don’t despair! Here are some tricks to beat the city lights:
- Use light pollution filters: These babies can work wonders. They’re like sunglasses for your telescope, blocking out artificial light.
- Focus on bright objects: Planets, the Moon, and bright stars can still shine through the city glow.
- Embrace the lunar phases: During full moons, focus on lunar observation. When it’s new moon, that’s your chance to hunt for fainter objects.
- Plan trips to darker sites: Make it an adventure! Some of my best stargazing memories are from camping trips far from city lights.
Remember, even in the city, you can still enjoy the night sky. It might not be pristine, but hey, any night under the stars is a good night in my book!
Combating dew on optics
Picture this: You’re all set up, you’ve found your target, and just as you lean in to look… your lens is foggier than San Francisco in the morning. Ugh, dew strikes again!
Here’s how you can fight back:
- Use dew shields: These extend past your optics, slowing down dew formation.
- Invest in dew heaters: They’re like little electric blankets for your telescope. Toasty!
- Try the hairdryer trick: In a pinch, a quick blast from a hairdryer can clear things up. Just be gentle!
- Store your gear outside: Let it acclimate to the temperature before you start. You can keep your scope in the garage, for example.
Pro tip: Always carry a microfiber cloth. It’s saved my observing sessions more times than I can count!
Handling expectations vs. reality of visual observations
Here’s a hard truth: most deep sky objects won’t look like those stunning Hubble photos. But once you adjust your expectations, you’ll find beauty in those faint fuzzies. Here’s how:
- Start with easy targets: The Moon, planets, and bright star clusters are great confidence boosters.
- Learn to use averted vision: Looking slightly to the side of faint objects can help you see more detail.
- Practice, practice, practice: Your eyes will get better at picking out faint details over time.
- Embrace the awe factor: That faint smudge? It’s millions of light-years away. How cool is that?
Remember, it’s not about pretty pictures – it’s about the thrill of seeing these objects with your own eyes. That never gets old!
Staying motivated during cloudy periods

Cloudy nights are the ultimate test of an astronomer’s patience.
But don’t let clouds rain on your parade. Here’s how to stay motivated:
- Use the downtime to learn: Read astronomy books, watch documentaries, or tinker with your equipment.
- Plan future observations: Make a bucket list of objects you want to see when skies clear.
- Process old data: If you’re into astrophotography, cloudy nights are perfect for editing.
- Connect with other astronomers: Join our best stargazing community here: Facebook, Instagram. Misery loves company, right?
- Explore astronomy apps and simulators: Can’t see the real sky? A virtual one can be the next best thing.
Remember, cloudy nights are temporary. Clear skies will come again, and they’ll be all the sweeter for the wait.
Here’s the thing about these challenges – they’re part of the adventure. Every problem solved, every obstacle overcome, makes you a better astronomer.
There was this one time when I was about to pack up due to clouds, and suddenly, the sky cleared for just five minutes. In that brief window, I saw the best view of Jupiter I’ve ever had. If I’d given up earlier, I’d have missed it.
So embrace the challenges. They’re not roadblocks – they’re opportunities to learn, grow, and appreciate those perfect nights even more. Keep looking up, keep learning, and remember – even professional astronomers deal with these issues. You’re in good company!
Now get out there and show those stars who’s boss.
Taking Your Stargazing to the Next Level
Alright, cosmic explorers! You’ve dipped your toes into the vast ocean of astronomy, and now you’re ready to dive deeper. Well, strap on your space helmets, because we’re about to blast off into some seriously stellar territory!
Joining local astronomy clubs
Remember when I said misery loves company during cloudy nights? Well, joy loves company even more! Joining a local astronomy club was one of the best decisions I ever made in my stargazing journey.
Picture this: it’s like finding your tribe. These are folks who won’t look at you funny when you start gushing about nebulae at parties. Trust me, it’s refreshing!
Here’s why clubs are awesome:
- Access to shared equipment (hello, giant dobsonian I could never afford!)
- Learning from experienced members (Telescope Tom, I salute you)
- Group trips to dark sky sites (carpooling to the stars, anyone?)
- Regular meetings with fascinating talks (who knew black holes could be so fun?)
Pro tip: Don’t be shy about being a beginner. Most club members love sharing their knowledge. It’s like they’re passing on the cosmic torch!
Attending star parties and public observing events
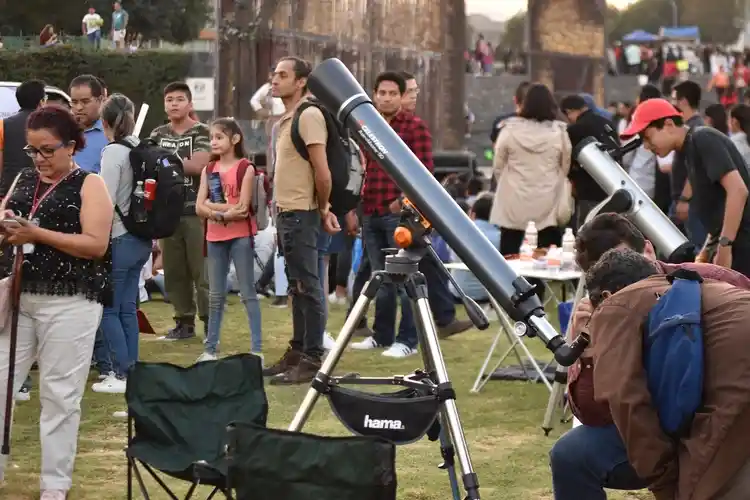
Star parties are like Woodstock for astronomy nerds, and I mean that in the best possible way. Imagine fields full of telescopes, with people “oohing” and “aahing” at celestial wonders. It’s magical!
Public observing events are great too. There’s something special about showing a kid Saturn’s rings for the first time. Their wide-eyed wonder? Priceless. Although, pro tip: be prepared for the inevitable “But why isn’t it in color?” question!
Here’s why these events rock:
- Try out different equipment (telescope test drive, anyone?)
- Learn new observing techniques (I picked up the “star hopping” technique at my first party)
- Meet fellow astronomy enthusiasts (swap stories, tips, and maybe phone numbers?)
- Observe from dark sky locations (goodbye, light pollution!)
Exploring astrophotography basics
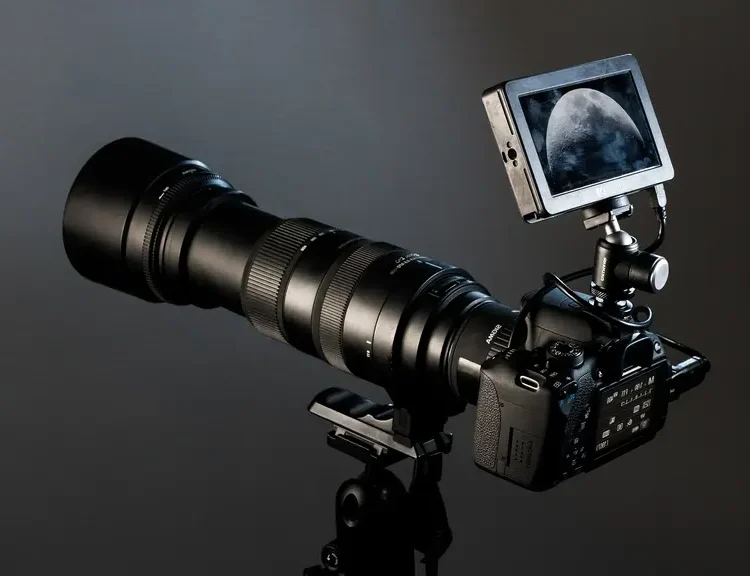
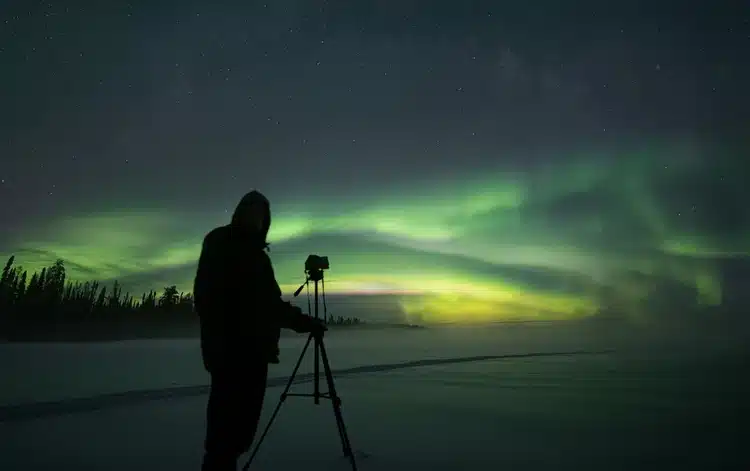
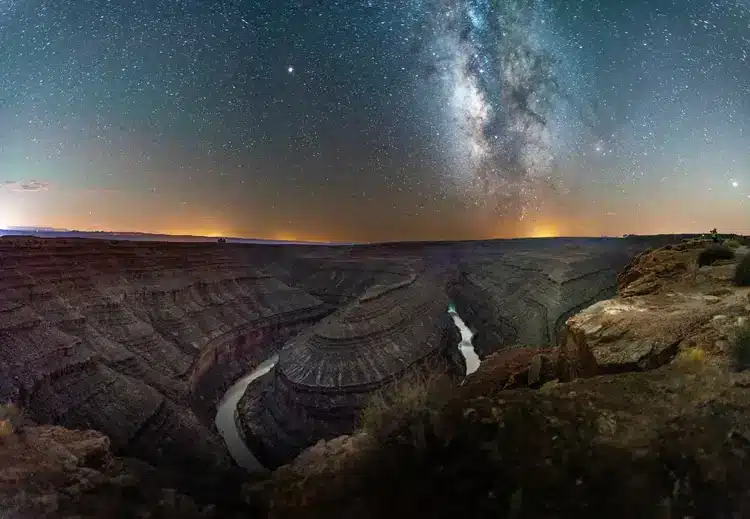
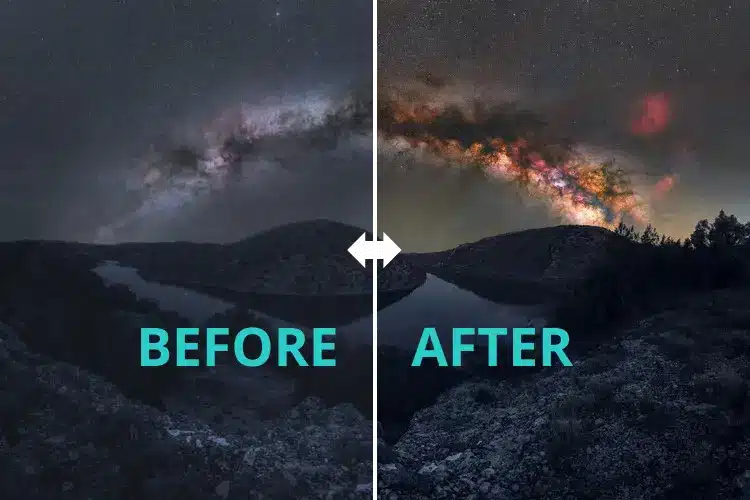
Oh boy, astrophotography. It’s like the final frontier of astronomy (and possibly sanity). But let me tell you, capturing your first decent shot of the Milky Way? It’s like winning the cosmic lottery!
I remember my first attempt at photographing the moon through a telescope. I held my phone up to my telescope eyepiece, took about 50 blurry photos, and finally got one semi-decent shot. I was over the moon! (Pun absolutely intended)
Here’s a basic starter kit:
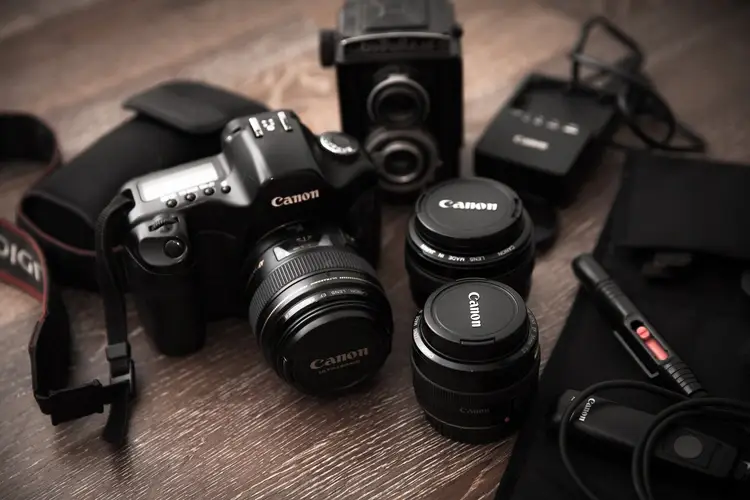
- DSLR camera (or even a smartphone with a good night mode)
- Sturdy tripod (trust me, the Earth’s rotation is not your friend here)
- Remote shutter release (to avoid camera shake)
- Patience. Lots and lots of patience.
Start with easy targets like the Moon or star trails. As you progress, you can move on to deep-sky objects. Just be warned: astrophotography can be addictive. And expensive! But if you don’t want to spend a lot of money on high-end equipment, check out our tips for doing astrophotography with your smartphone!
Considering advanced equipment upgrades
Ah, the endless temptation of new gear. It’s like a siren call for astronomers. But before you remortgage your house for that 20-inch computerized GoTo telescope, let’s talk about strategy.
First, master what you have. I spent months drooling over fancy eyepieces before realizing I hadn’t even fully explored the capabilities of my current setup.
When you’re ready to upgrade, consider:
- Better eyepieces (they can make a huge difference!)
- A larger aperture telescope (more light = more detail)
- Equatorial mounts for astrophotography (tracking those stars is crucial)
- Specialized filters (light pollution filters are game-changers)
Remember, the best telescope is the one you’ll use regularly.
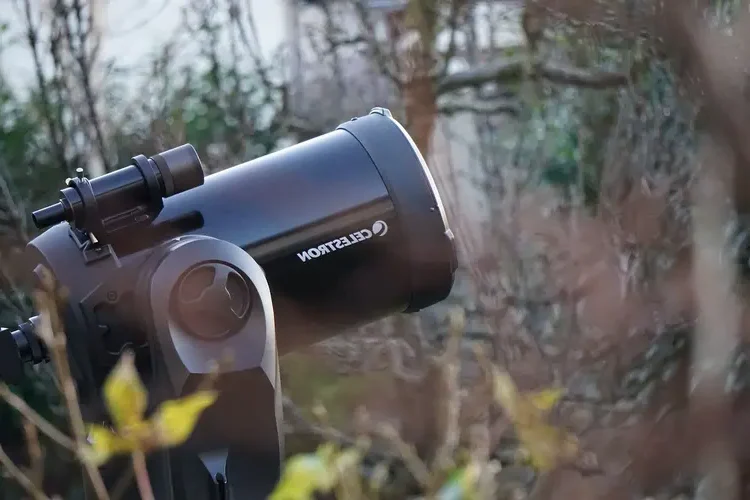
Here’s the thing about taking your stargazing to the next level: it’s not just about the gear or the technical know-how. It’s about deepening your connection with the cosmos. Whether that means bonding with fellow stargazers at club meetings, sharing the wonders of the universe at public events, capturing the beauty of the night sky in photos, or pushing the limits of what you can see with advanced equipment – it’s all part of the grand adventure.
So go forth, intrepid cosmic explorers! Join that club, attend that star party, take that blurry photo of the moon. Every step takes you further into the vast, beautiful universe we call home. And trust me, the view only gets better from here.
Summing It Up:
Well, fellow stargazers, we’ve journeyed through the cosmos together, from the basics of finding the North Star to the intricacies of astrophotography. What a ride it’s been! As we wrap up our celestial adventure, let’s take a moment to look back at the sky we’ve explored and the road ahead.
You know, sometimes I think about why we do this – why we stand out in the cold, squinting through telescopes, trying to spot tiny dots of light millions of miles away. And then I remember that first time I saw Saturn’s rings through a telescope. That moment when the fuzzy blob suddenly snapped into focus, and there it was – a jewel of the solar system, right before my eyes.
That’s the magic of stargazing. It connects us to something so much bigger than ourselves. In a world that can sometimes feel small and overwhelming, looking up at the stars reminds us of the vast, beautiful universe we’re part of. It’s humbling and inspiring all at once.
But it’s not just about the big, mind-blowing moments. There’s joy in the quiet nights spent learning constellations, the excitement of spotting your first meteor, the camaraderie of huddling with friends around a telescope on a chilly evening. Stargazing teaches us patience, sparks our curiosity, and honestly, it’s just plain fun!
So, if you haven’t started your stargazing journey yet, what are you waiting for? The universe is out there, just waiting to be explored! Don’t worry if you don’t have fancy equipment or if you can’t tell Orion from Ursa Major yet. We all start somewhere.
Remember, every expert astronomer was once a beginner, looking up at the night sky with wonder. The important thing is to start. Step outside tonight, look up, and see what you can see. I promise you, once you start, you’ll be amazed at how much there is to discover.
Every time we look up at the night sky, we’re participating in a tradition as old as humanity itself. From ancient astronomers tracking the movements of planets to you, standing in your backyard with binoculars, we’re all part of this grand, ongoing exploration of the cosmos.
So here’s to clear skies, breathtaking views, and the endless wonder of the universe. Keep looking up, my friends. The stars are calling, and the adventure is just beginning!

